Advanced Mission Goals
Contents
- What is Mission Architect?
- Creating Stories in Mission Architect
- Mission Settings
- Mission Text
- Additional Text
- Mission Goals
- Basic Mission Goals
- Advanced Mission Goals
- Playing Stories in Mission Architect
- Rating Stories - The Star System
- Architect Rewards
- Custom Characters
- Custom Enemy Groups
- Architect Entertainment Instructor - Tips & Tricks
- Unlockable Content
- How to Write a Better Story
- Building a Better Enemy
Advanced Mission Goals
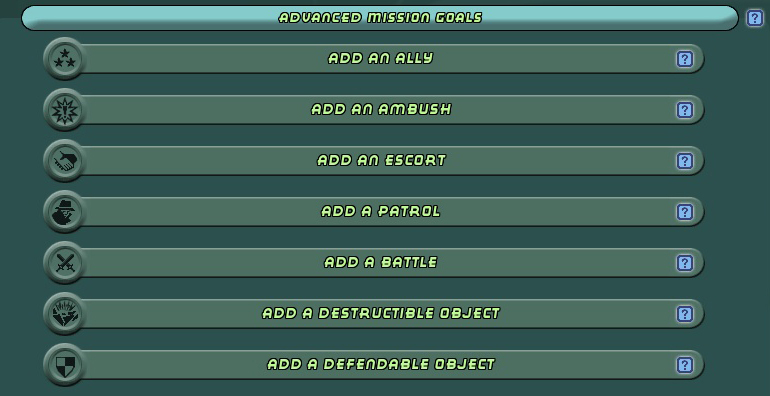
Add an Ally
The Ally mission goal adds a character to the map who can team up with the players and potentially aid them in combat. The Ally can be surrounded by enemies or they can be by themselves waiting for the players to find them.
Example: Positron is surrounded by Malta. Once the Malta are defeated, Positron stands up and says, 'Thanks, now let's shut this place down.' The player can then go through the rest of the mission with Positron by his side.
You should be aware of the following settings for this mission goal.
Enemy Group Difficulty
Within this setting is an option for Single. This removes all of the surrounding enemies from the ally, leaving them standing by themselves.
Ally Behavior
This is what the Ally does once the players have 'rescued' him. Options include:
- Follow: The ally will follow the players through the map.
- Run to Nearest Door: The Ally will act like a Captive and simply run to the Nearest Door and leave the mission. The difference between this and a Captive mission goal is that the Ally will fight and be attacked while attempting to flee to the door.
- Run Away: The ally will run away from the players, but remain on the map.
- Wander: The Ally will not follow the players, but will wander the map, similar to a patrol.
- Do Nothing: The Ally will simply stand there and only fight enemies that are around him, assuming you set his Combat Abilities to Aggressive or Defensive (see below).
Combat Abilities
This setting determines how the ally is going to interact with enemies on the map. Options include:
- Fight Aggressive: The ally will attack other enemies on the map, oftentimes running away from the players to engage.
- Fight Defensive: The ally will fight other enemies but will remain as close to the players as possible.
- Non Combat: The ally will not fight enemies and enemies will not attempt to fight the ally.
- Pacifist: The ally will not fight enemies, but will be attacked and potentially defeated by them.
An Ambush
An Ambush mission goal causes a group of potential enemies to come after the players on a mission. This mission goal is triggered after the players complete another goal on the mission. For example if the players interact with a computer that causes an ambush to come after them. The trigger is the computer. Ambushes can't be set as required for mission complete.
Example: Once the final hostage has been rescued, a wave of Arachnos soldiers storm the mission map.
You should be aware of the following settings for this Mission Goal.
Create Ambush when...
This is the mission goal that creates the ambush. You need to link this ambush to an existing mission goal in order for it to work correctly.
Ambush Alignment
This sets the alignment of the ambush when it is created. Your options are:
- Enemy: This is the default. The ambush is red to the players.
- Ally: The ambush that is created is actually the player's ally. The Ambush, however, will not follow the players, but will attack anything around them.
- Rogue: The ambush is the player's enemy, but they are also the enemy of others on the map. They will fight the players and anything else that comes their way.
Add a Defendable Object
A Defendable Object mission goal is an object the players must defend from waves of attacks. Before the players can defend the object, they must first find it and defeat the surrounding enemies. This will cause the wave of enemies to attack. This mission goal is considered complete when the players have successfully defeated all the attacking enemies.
Example: You need to protect the altar from the Circle of Thorns until the ritual is complete. If they destroy it, the entire world is doomed!
It should be noted that this mission goal can be failed. Because of this, you'll need to make sure to fill out the Mission Failure Dialog spoken by your Story Contact at the end of the mission.
Add a Destructible Object
A Destructible Object mission goal is one where the players are sent into a mission to destroy a specific, physical object. The object will be guarded by enemies. The detail is considered complete when you've successfully destroyed the object and the enemies guarding the object. This detail can't be failed.
Example: Somewhere in this warehouse is a cursed relic that will doom the world if it's not destroyed.
Add an Escort
An Escort is a 'friendly' person who the players must rescue and then led to safety (exit). Escorts are dangerous because there's a chance the person can be defeated before the players can get them to the exit. This causes the mission to automatically fail. Escort missions can also be set up as kidnappings, depending on the flavor text and animations you use.
Example: Arachnos needs you to break into a tech lab and kidnap a Crey scientist.
You should be aware of the following settings for this Mission Goal.
Enemy Group Alignment
This sets the alignment of the enemy group, including the person the players are supposed to escort. Options include:
- Default: The person being held is the player's ally and the surrounding group are their enemies. In short, the ally is blue. The enemies are red.
- Rogue: The person being held is the player's enemy as is the surrounding group. This option is possible as a required element for the mission, but if the players kill the person the mission will fail. This setting can be useful for kidnap missions because the enemy has the potential of fighting the players along the way.
Combat Abilities
This sets what the person does once the players have rescued him. Options include:
- Fight Aggressive: The person will attack other enemies on the map, often time running away from the players to engage.
- Fight Defensive: The person will fight other enemies but will remain as close to the players as possible.
- Non Combat: The person will not fight enemies and enemies will not attempt to fight the person. This setting is good if you want the players to have a safe and easy time escorting the person out of the mission.
- Pacifist: The person will not attack the enemies, but the enemies will attempt to attack and defeat him.
For the cases of Fight Aggressive, Fight Defensive and Pacifist, there is a chance the person can be defeated.
Arrival Behavior
This sets what the person will do when they reach the mission exit. Options include:
- Do Nothing: The person will simply stand there and do nothing.
- Follow: Once the person is escorted to their destination he will follow the players.
- Run Away: The person will run away in fear when they reach their location. They will remain on the map and not attempt to exit the mission door.
- Run To Nearest Door: The escort will run away and find the nearest door from which to exit.
- Wander: Upon arrival, the person will begin to wander around the area.
Betrays on Arrival
Betrays on Arrival means that once the person is taken to the mission door, he will turn hostile towards the players. This doesn't prevent the mission from being completed.
Add a Patrol
Patrols are enemies that wander the map. This Mission Goal is good for making your map feel more alive as well as fleshing out the story of your mission. Patrols can't be flagged as required for mission complete. They're simply useful to make the mission feel more alive.
Example: As the players enter the map, they notices two guards walking around. One guard says, 'So, you think the boss is actually going through with it?' The other guard says, 'Between you and me, I hope not.'
Add a Battle
Add a Battle has two enemy groups on the map fighting with one another. You can set who those enemy groups are as well as some dialog they say to each other and when you approach them.
Example: 'Arachnos is invading a Longbow base and there are skirmishes between the two groups throughout the mission.'
Settings
You should be aware of the following settings for this Mission Goal.
Multiple Enemy Groups
Notice on this Mission Goal that there are two Enemy Group options. The first is for one enemy group, the second for the other. Throughout this Mission Goal the two different enemy groups will be referred to as Enemy Group One and Enemy Group Two.
Battle Alignment
This sets the alignment of the battle on your map. Options are:
- Both Groups are Enemies: The two groups are fighting each other. Both groups will be hostile to the players as they approach. This means they can potentially defeat one another before the players arrive.
- Group One is Ally: Both groups are fighting, but the first group is allied with the players.
- Group Two is Ally: Both groups are fighting, but the second group is allied with the players.
